


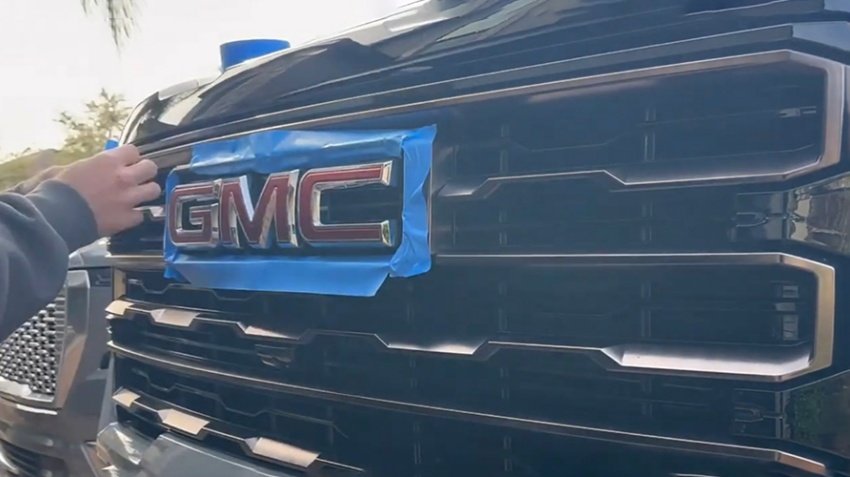

How to Remove Old Vehicle Emblems Without Damaging Paint
Replacing your vehicle’s emblems starts with removing the old ones safely.
Many truck owners worry about scratching paint or damaging clear coat during removal. Fortunately, with the right technique, emblem removal is straightforward and safe.
What You’ll Need
- Hair dryer or heat gun
- Fishing line or dental floss
- Adhesive remover
- Microfiber towels
- Isopropyl alcohol
Step 1: Warm the Adhesive
Apply moderate heat to the emblem for 30–60 seconds.
The goal is to soften the adhesive, not overheat the paint.
A household hair dryer works perfectly.
Step 2: Separate the Emblem
Slide fishing line behind the badge.
Use a gentle sawing motion to cut through the adhesive.
Avoid using screwdrivers, metal tools, or razor blades.
These can permanently damage paint.
Step 3: Remove Remaining Adhesive
After removing the badge, some adhesive residue will remain.
Apply adhesive remover and allow it to soften the remaining tape.
Wipe carefully using a microfiber towel.
Step 4: Clean the Surface
Use isopropyl alcohol to remove any remaining oils or residue.
The surface should feel completely smooth before installing new emblems.
Common Mistakes to Avoid
- Pulling the emblem without heating
- Using metal scraping tools
- Applying excessive heat
- Installing new badges before cleaning
Ready for New Emblems?
Once the surface is clean, you’re ready to install replacement emblems and give your truck a fresh appearance.
Many owners are surprised how much newer their vehicle looks after replacing faded factory badges.
Leave a Reply