


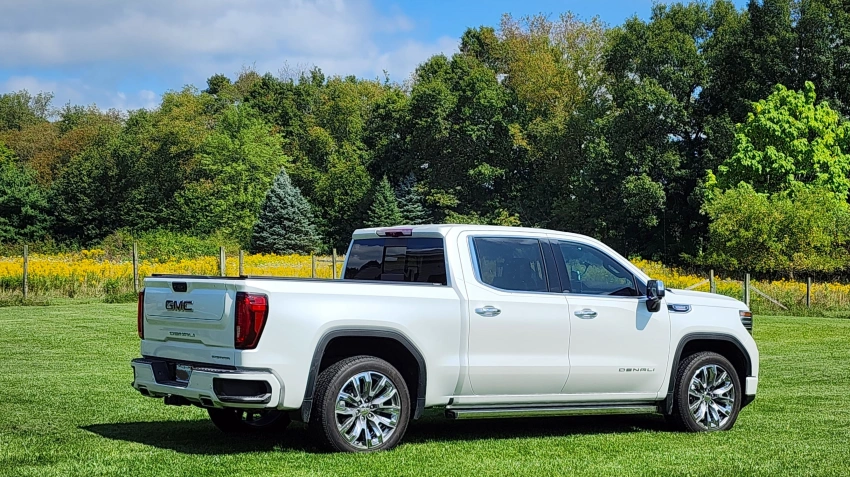

From Crooked to Factory Perfect: The Ultimate Emblem Alignment Guide
Nothing ruins a fresh emblem upgrade faster than a crooked installation.
Whether you’re replacing worn factory badges or upgrading to a sleek black emblem set, even a few millimeters of misalignment can make your truck look unfinished. The good news? You don’t need professional tools to achieve factory-level results.
In this guide, we’ll show you how to align your emblems like a pro using reference lines already built into your vehicle.
Why Emblem Alignment Matters
Vehicle manufacturers spend countless hours ensuring badges are positioned perfectly relative to body lines and trim pieces. When an emblem is installed unevenly, it becomes immediately noticeable because our eyes naturally compare it to nearby straight lines.
Common installation mistakes include:
- Emblems tilted upward or downward
- Uneven spacing between letters
- Misalignment with tailgate or grille body lines
- Installing without measuring reference points
Fortunately, these issues are easy to avoid.
Tools You’ll Need
Before starting, gather:
- Measuring tape
- Bubble level
- Masking tape
- Microfiber cloth
- Marker or grease pencil
- Isopropyl alcohol
These inexpensive tools can dramatically improve installation accuracy.
Step 1: Clean the Installation Area
Remove dirt, wax, and old adhesive residue using alcohol.
A clean surface not only improves adhesion but also allows more accurate measurements.
Step 2: Find Factory Reference Lines
The easiest way to achieve OEM-style placement is to use existing vehicle body lines.
Great reference points include:
Tailgate Body Creases
Most Silverado and Sierra tailgates feature horizontal character lines that serve as natural alignment guides.
License Plate Frame Edges
The top and bottom edges of the license plate recess are often perfectly level.
Grille Crossbars
For front emblems, grille bars provide excellent horizontal references.
Existing Mounting Marks
If replacing factory badges, take photos and measurements before removal.
Step 3: Create a Temporary Alignment Guide
Apply masking tape across the installation area using your chosen reference line.
Use the bubble level to ensure the tape is perfectly horizontal.
This tape line becomes your installation guide and helps prevent visual errors.
Step 4: Measure Twice, Install Once
Measure from multiple points:
- Distance from body line to emblem
- Distance from panel edges
- Center positioning
Verify every measurement before removing adhesive backing.
Professional installers often measure three times before making final contact.
Step 5: Test-Fit Before Sticking
Position the emblem without removing the adhesive liner.
Step back several feet and inspect from different angles.
What looks straight up close may appear crooked from a distance.
Step 6: Apply Firm, Even Pressure
Once satisfied with positioning:
- Remove adhesive backing.
- Align carefully with guide tape.
- Press firmly for 30–60 seconds.
- Avoid washing the vehicle for 24 hours.
Pro Tip: Use Painter’s Tape Templates
For lettered emblems such as SIERRA, SILVERADO, DENALI, or AT4 badges, create a temporary template using painter’s tape before installation.
This helps maintain consistent spacing between characters and ensures a factory-quality appearance.
Final Thoughts
Installing emblems isn’t difficult, but precision matters.
By using factory body lines, a simple level, and accurate measurements, you can achieve an OEM-quality finish that looks as though it came directly from the factory.
At GyfassAuto, our replacement emblem kits are designed for easy installation and factory-correct fitment, helping truck owners upgrade their vehicles with confidence.
Leave a Reply