Complete Process for Safe Grille Letter Replacement
Replacing RAM grille letters involves front-end disassembly and requires patience and precision. This guide will take you from preparation to final testing.
Phase 1: Preparation & Safety
Essential Tools:
-
Plastic trim removal kit (avoid metal tools)
-
10mm socket wrench (for grille bolts)
-
Interior clip removal tool
-
Wire strippers and heat shrink tubing (for illuminated letters)
-
Digital multimeter (for circuit testing)
-
3M adhesion promoter and automotive-grade double-sided tape
-
Possible wiring harness adapter (for illuminated versions)
Safety First: Disconnect the Battery
Before any work near front lighting or wiring, disconnect the negative battery terminal and wait 10 minutes.
Phase 2: Removing the Original Letters
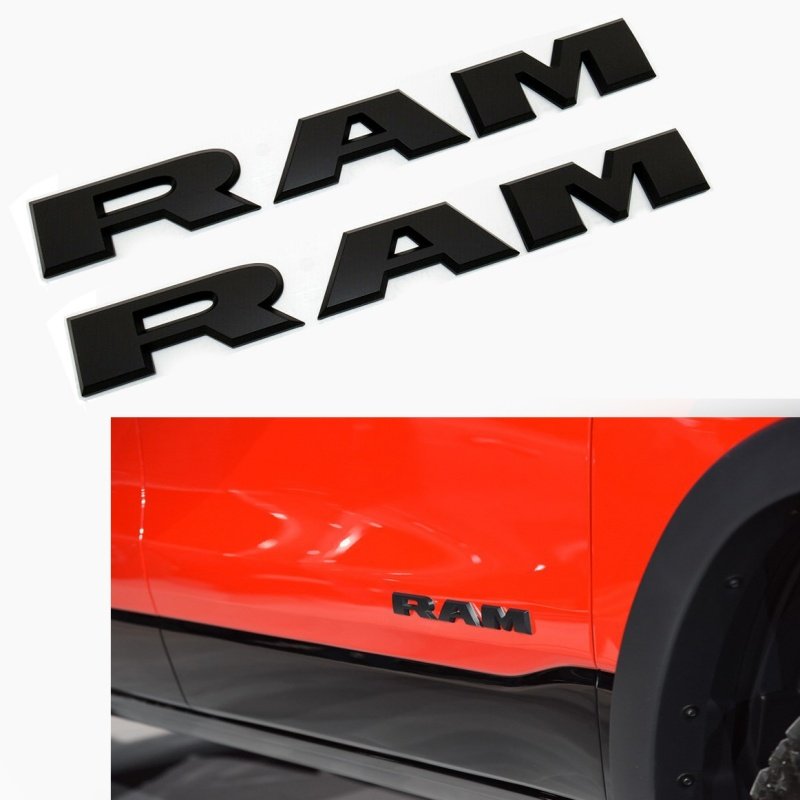
Non-Illuminated Letters:
-
On some models, you can access the rear clips from the engine bay.
-
If the grille must come off: remove plastic covers above, unbolt the sides.
-
Once the grille is loose, press the letter tabs from behind and push the letters out from the front.
-
Clean any leftover adhesive with a plastic scraper and adhesive remover.
Illuminated Letters:
-
Follow the steps above, plus locate the wiring harness connector behind the grille.
-
Press the connector clip to release, noting the position of any weather seals.
-
Photograph the wire colors and connections for reference during reinstallation.
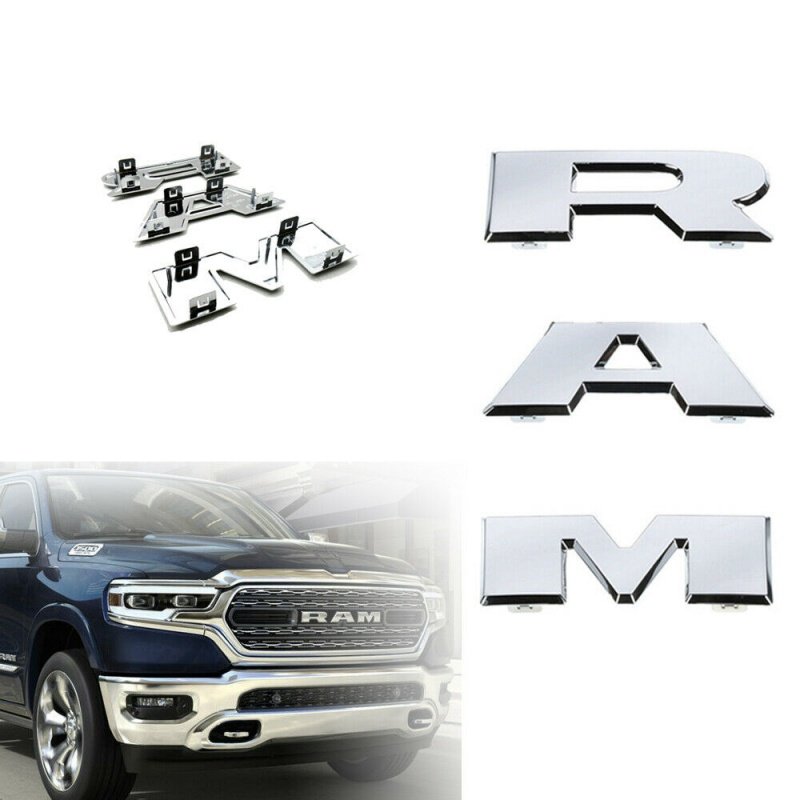
Phase 3: Installing the New Letters
General Steps:
-
Dry Fit: Place the new letters on the grille to confirm alignment with all clips or adhesive areas.
-
Surface Prep: Clean the mounting area with isopropyl alcohol. Apply a thin layer of adhesion promoter if using tape.
-
Installation:
-
Clip‑in types: Press firmly from behind until each clip clicks into place.
-
Adhesive types: Remove backing, align carefully, and apply in one smooth motion.
-
-
Seating Pressure: Use a roller or firm cloth to apply even pressure, especially along edges.
Wiring Illuminated Letters:
-
Match the wire colors to your reference photo, ensuring correct polarity.
-
Insulate connections with heat shrink tubing and electrical tape.
-
Consider adding an in-line fuse if one isn’t present in the original circuit.
-
Temporarily reconnect the battery to test illumination before fully reassembling the grille.
Phase 4: Testing & Reassembly
-
Reinstall the grille assembly, ensuring all clips and bolts are secure.
-
Reconnect the battery and start the truck to verify letter lighting (if equipped).
-
Check that letters sit flush with the grille surface, without gaps or lifting.
-
Perform a low-pressure water test to confirm no moisture can enter.
Troubleshooting Common Issues
Issue 1: New letters don’t conform to the grille curvature.
Solution: Gently warm the letters with a low-heat setting on a heat gun to increase flexibility.
Issue 2: Illuminated letters are dim or flickering.
Solution: Verify ground connection is solid, check for stable voltage, and clean any oxidized connectors.
Issue 3: Rattling or buzzing from the letters while driving.
Solution: Ensure all clips are fully locked. If needed, apply thin foam tape behind contact points.
⚠️ Important Notes
-
Installing illuminated letters may affect your vehicle’s warranty—check with your dealer first.
-
In very cold or hot climates, perform the work indoors at stable temperatures.
-
Keep the original letters for possible reinstallation when selling the truck.
-
If wiring work is required and you’re not experienced with vehicle electronics, professional installation is strongly recommended.